How To Draw A Simple Cat: A Step-by-Step Guide For Beginners
Drawing a simple cat can be both fun and rewarding, especially for beginners who are just starting to explore their artistic skills. In this article, we will walk you through the easy steps to create your very own cat illustration. Whether you want to draw a cute cartoon cat or a realistic feline, this guide will help you get started with confidence.
To make this process enjoyable, we will break down the drawing into manageable steps, ensuring that you can follow along easily. By the end of this article, you will have a delightful cat drawing that you can proudly showcase or share with friends and family.
So grab your pencils, paper, and let’s dive into the world of cat drawing! We will also provide tips and tricks along the way to enhance your drawing skills and ensure your cat looks adorable.
- Understanding Spirit Airlines Cancelled Flights What You Need To Know
- Trophy Rc Game Unlocking The Secrets To Victory
Table of Contents
- Materials Needed for Drawing a Cat
- Understanding Basic Shapes for Drawing
- Step-by-Step Guide to Drawing a Simple Cat
- Adding Details and Features to Your Cat Drawing
- Coloring Your Cat Illustration
- Common Mistakes to Avoid
- Tips for Improving Your Cat Drawing Skills
- Conclusion
Materials Needed for Drawing a Cat
Before we start, let’s gather the necessary materials for drawing a simple cat:
- Sketching paper
- Pencil (preferably HB or 2B)
- Eraser
- Black pen or marker for outlining
- Colored pencils or markers for coloring (optional)
Understanding Basic Shapes for Drawing
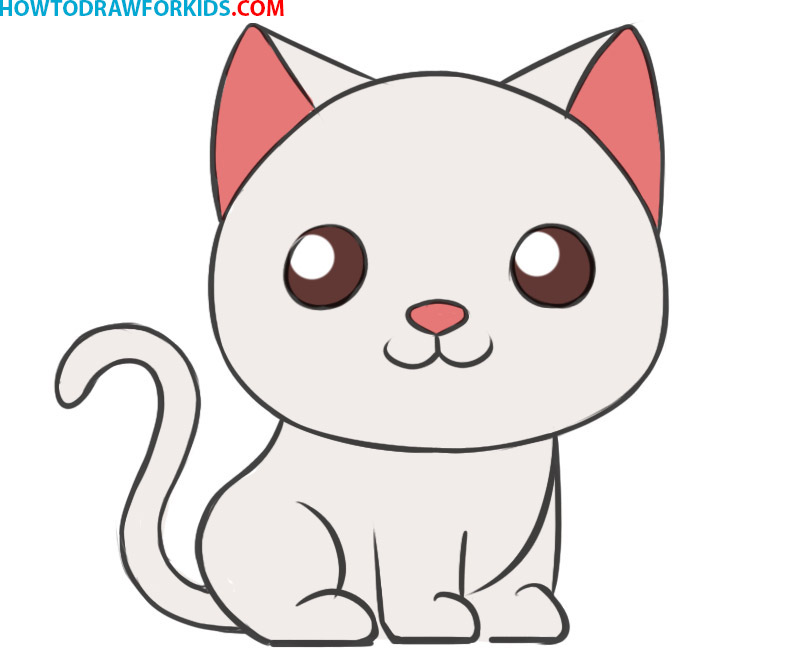
To draw a cat, we will utilize basic shapes that serve as the foundation for our drawing. Here are the shapes we will use:
- Circle for the head
- Oval for the body
- Triangles for the ears
- Circles for the eyes
- Curved lines for the tail and legs
By combining these shapes, we can form the outline of a cat, making it easier to add details later on.
- Ebraheem Al Samadi A Comprehensive Insight Into His Life And Career
- Can Dogs Eat Zucchini A Comprehensive Guide
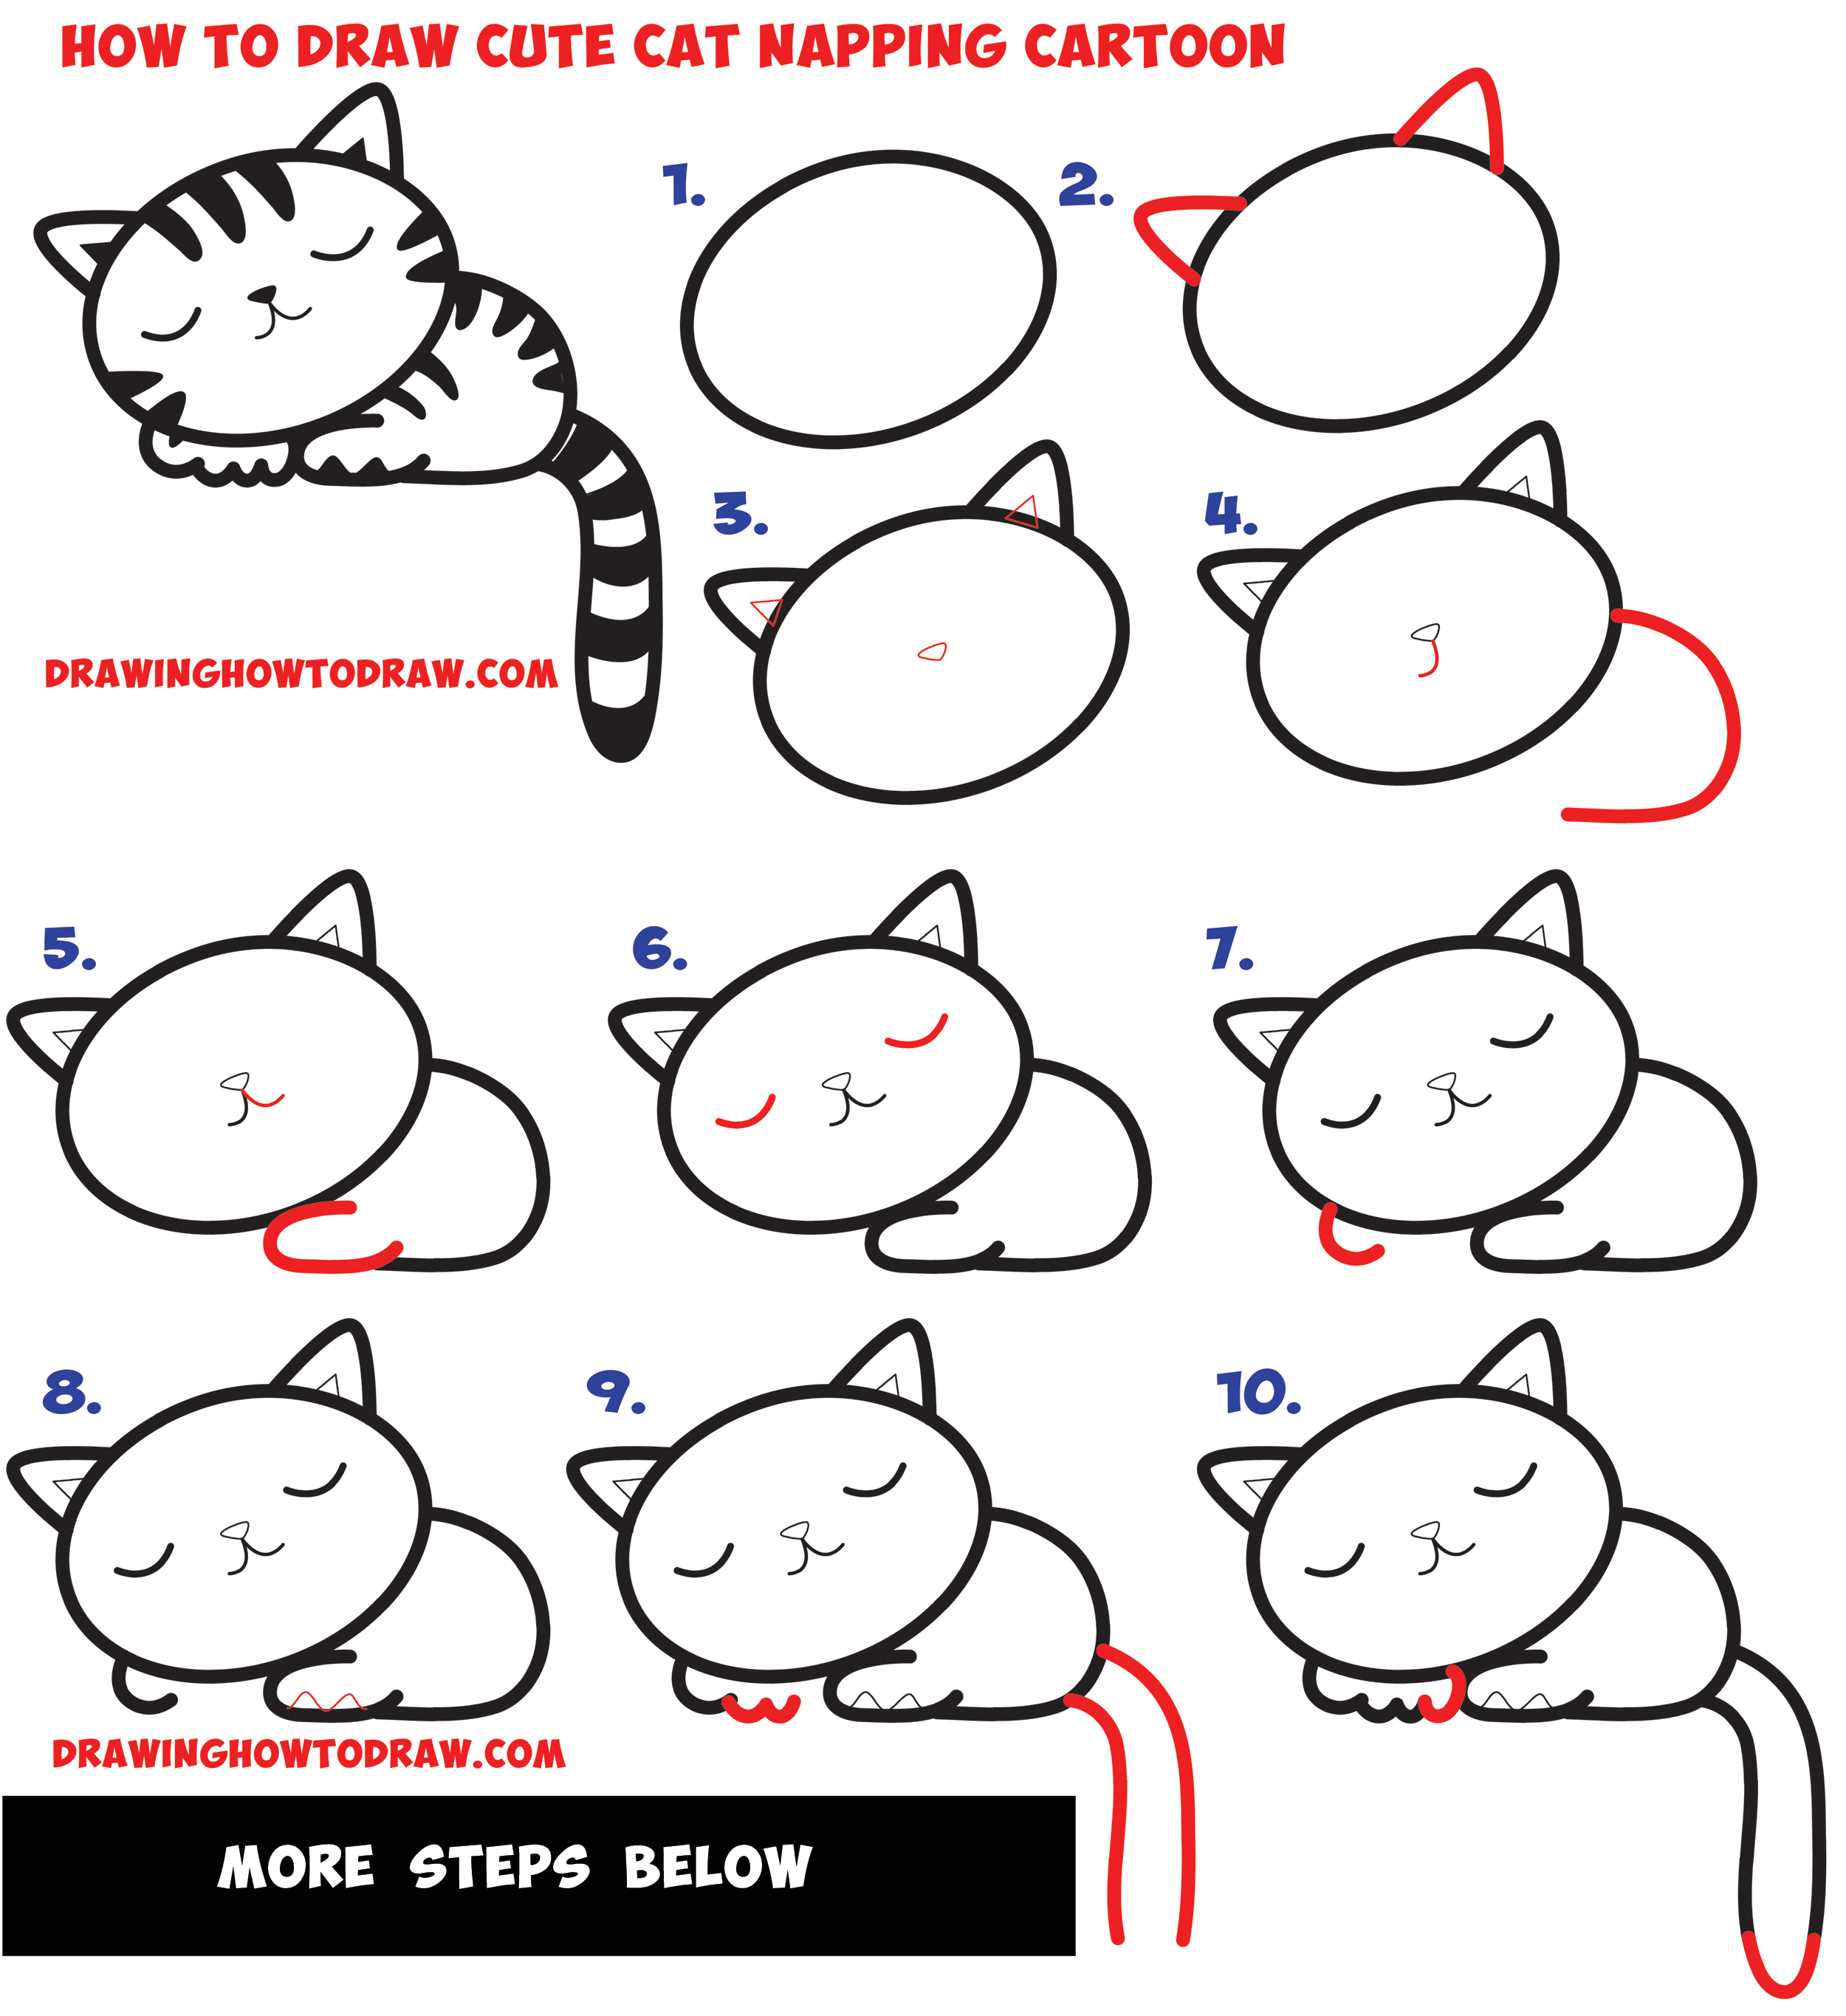
Step-by-Step Guide to Drawing a Simple Cat
Step 1: Draw the Head
Start by drawing a large circle for the cat's head. This will be the base for your drawing.
Step 2: Add the Body
Next, draw an oval shape below the head for the body. The oval should be slightly larger than the head.
Step 3: Create the Ears
Add two triangles on top of the head for the ears. Make them slightly curved to give a more natural look.
Step 4: Sketch the Face
Now, draw two circles for the eyes and a small triangle for the nose in the middle of the face. Add a curved line for the mouth beneath the nose.
Step 5: Draw the Legs
For the legs, draw two straight lines coming down from the body. Add small ovals at the bottom for the paws.
Step 6: Add the Tail
Draw a long, curved line coming out from the back of the body for the tail. You can make it as fluffy or sleek as you like!
Step 7: Outline Your Drawing
Once you are satisfied with your sketch, use a black pen or marker to outline your drawing. This will make your cat stand out and look more polished.
Step 8: Erase Unnecessary Lines
Carefully erase any unnecessary pencil lines to clean up your drawing.
Adding Details and Features to Your Cat Drawing
Now that you have your basic cat outline, it’s time to add some details to make it more realistic or cartoonish, depending on your preference.
- Add whiskers by drawing three straight lines on each side of the nose.
- Draw patterns on the fur, such as stripes or spots, using curved lines.
- Add more definition to the ears by drawing inner ear shapes.
Coloring Your Cat Illustration
Coloring your cat can bring it to life! Here are some tips for coloring your drawing:
- Choose colors that represent the type of cat you want to draw (e.g., orange for a tabby cat, gray for a Russian Blue).
- Use colored pencils or markers to fill in the colors smoothly.
- Consider using different shades to add depth and dimension to the fur.
Common Mistakes to Avoid
As you embark on your drawing journey, it’s helpful to be aware of common mistakes:
- Forgetting to sketch lightly: Start with light pencil strokes so you can erase easily.
- Neglecting proportions: Ensure the head and body are proportionate to each other.
- Overcomplicating details: Keep it simple, especially as a beginner.
Tips for Improving Your Cat Drawing Skills
Here are some additional tips to enhance your drawing skills:
- Practice regularly: The more you draw, the better you will become.
- Study real cats: Observe cats in real life or photos to understand their anatomy and features.
- Experiment with styles: Try different styles of drawing cats to find what you enjoy the most.
Conclusion
In conclusion, drawing a simple cat can be an enjoyable and fulfilling activity. By following our step-by-step guide and practicing regularly, you can improve your skills and create charming cat illustrations. Don’t be afraid to express your creativity and experiment with different styles.
We encourage you to share your cat drawings with us in the comments below or on social media! If you found this article helpful, feel free to share it with your friends or check out our other drawing tutorials for more inspiration.
Happy drawing!

Detail Author:
- Name : Estefania Zboncak
- Username : waldo75
- Email : hilpert.armand@hotmail.com
- Birthdate : 1983-10-18
- Address : 71681 Kilback Center New Torreyborough, OK 71069
- Phone : 352-678-3844
- Company : Gibson, Corkery and O'Reilly
- Job : Psychiatric Aide
- Bio : Voluptates et consequatur repellendus magni. Delectus iure doloribus dignissimos provident cupiditate reprehenderit quia.
Socials
linkedin:
- url : https://linkedin.com/in/swaniawskil
- username : swaniawskil
- bio : Enim ratione fugiat saepe nobis.
- followers : 509
- following : 262
facebook:
- url : https://facebook.com/linda.swaniawski
- username : linda.swaniawski
- bio : Vero corrupti quae repellendus labore illum omnis.
- followers : 303
- following : 1419
twitter:
- url : https://twitter.com/lindaswaniawski
- username : lindaswaniawski
- bio : Sint sint quidem maxime. Facilis maiores nihil voluptas rerum. Odit quia tempora autem eius atque.
- followers : 1399
- following : 1173
instagram:
- url : https://instagram.com/linda_swaniawski
- username : linda_swaniawski
- bio : Vero consectetur magnam tempore veritatis vel. Consequatur quia doloremque sit.
- followers : 4082
- following : 291
