Mastering The Art Of Spider Drawing: A Comprehensive Guide
Spider drawing is an intriguing and creative process that captivates both beginners and experienced artists alike. This guide will take you through the steps needed to create stunning spider illustrations while exploring various techniques, tools, and tips to enhance your drawing skills. Whether you're looking to create realistic spider art or whimsical designs, this article will serve as your ultimate resource.
In this guide, we will cover everything from the anatomy of a spider to advanced shading techniques, ensuring you have all the information you need to bring your spider drawings to life. As we delve deeper into the world of spider drawing, you will discover the best practices and expert insights that will elevate your artistic abilities. Let's embark on this exciting journey together!
Understanding the nuances of spider drawing is essential for any aspiring artist. By mastering the fundamentals and experimenting with various styles, you can create unique and captivating spider art that showcases your creativity. So, grab your sketchbook and let's get started!
Table of Contents
- Understanding Spider Anatomy
- Essential Tools for Spider Drawing
- Drawing Techniques for Realistic Spiders
- Creating Whimsical Spider Designs
- Shading and Texturing Techniques
- Common Mistakes to Avoid
- Sources of Inspiration and Resources
- Conclusion
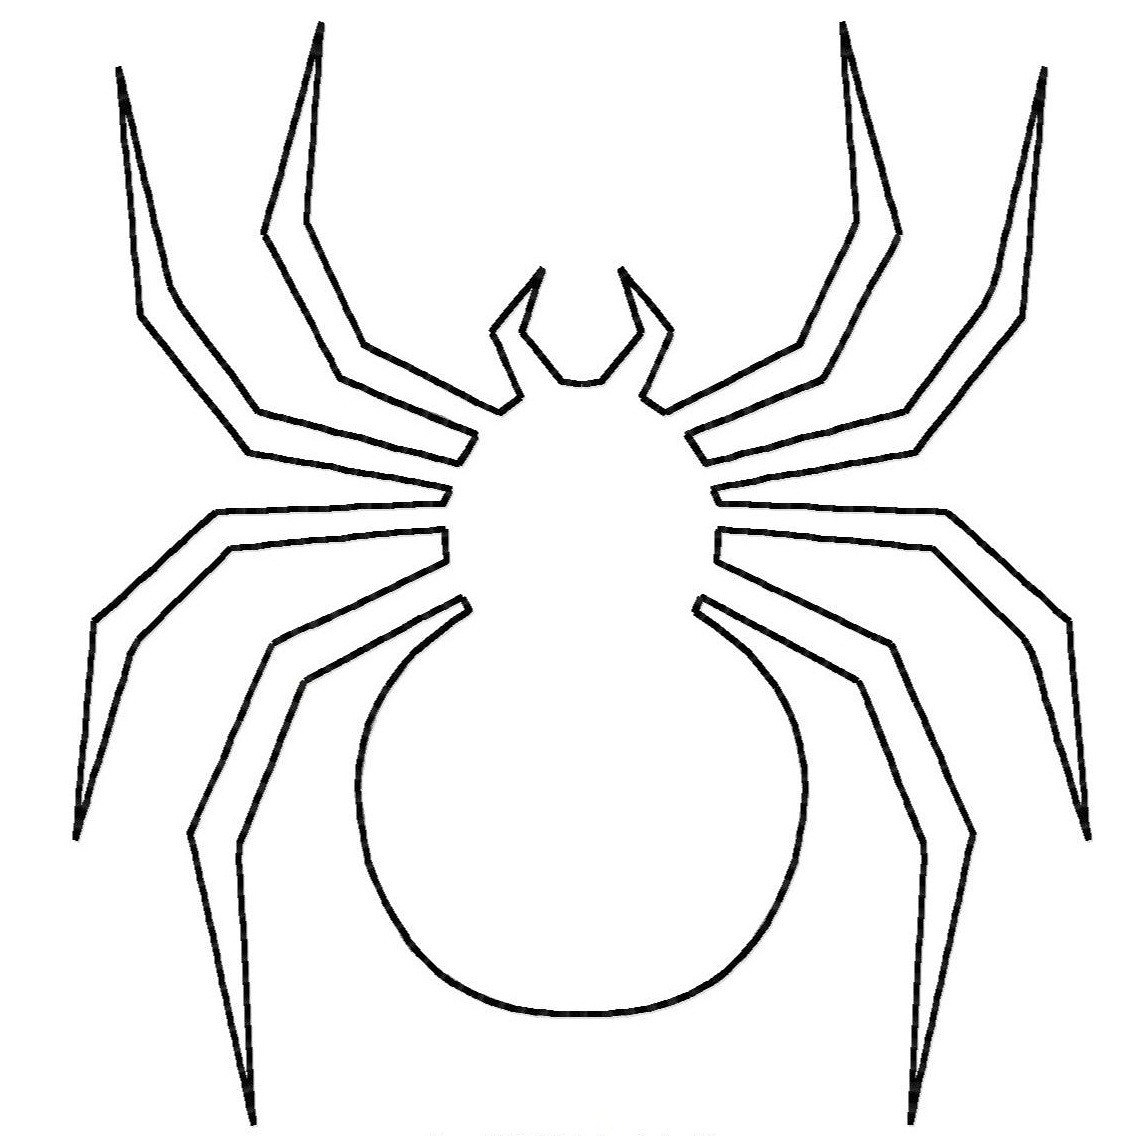
Understanding Spider Anatomy
Before diving into drawing, it's crucial to understand the anatomy of a spider. This knowledge will help you create more accurate and lifelike illustrations. Here are the key parts to focus on:
- Cephalothorax: The fused head and thorax where the eyes, mouth, and legs are located.
- Abdomen: The rear part of the spider, often where the spinnerets are located.
- Legs: Spiders typically have eight legs, which are segmented and vary in thickness.
- Pedipalps: These are small appendages located near the mouth that help in feeding and mating.
By studying the anatomy of spiders, you can achieve a more realistic representation in your drawings.
Essential Tools for Spider Drawing
Having the right tools is crucial for any artist. Here's a list of essential tools you should consider for spider drawing:
- Hester Sunshine A Journey Through Creativity And Inspiration
- Taylor Swift Barbie A Cultural Phenomenon
- Pencils: A range of pencils from HB to 6B for outlining and shading.
- Eraser: A kneaded eraser for subtle corrections and a standard eraser for larger mistakes.
- Sketchbook: A good quality sketchbook to practice your drawings.
- Inking pens: For adding details and creating finished pieces.
- Colored pencils or markers: To add color to your spider drawings.
Investing in quality materials will enhance your drawing experience and outcomes.
Drawing Techniques for Realistic Spiders
To create realistic spider drawings, you can employ various techniques. Here are some effective methods:
1. Basic Shapes and Outlines
Start by sketching the basic shapes of the spider using light pencil strokes. Focus on the cephalothorax and abdomen shapes, then add the legs and pedipalps.
2. Adding Details
Once the basic outline is complete, begin adding details such as eyes, hairs, and patterns on the body. Take your time to observe real spiders for inspiration.
3. Shading Techniques
Use different pencil grades to create depth in your drawing. Darker shades can be applied to areas that are in shadow, while lighter shades can highlight the spider’s body.
4. Inking Your Drawing
After you are satisfied with your pencil sketch, you can go over it with inking pens. This will make your spider drawing stand out and give it a finished look.
Creating Whimsical Spider Designs
If you prefer a more playful approach to spider drawing, try creating whimsical designs. Here are some tips to get you started:
- Exaggerated Features: Play with the size of the legs and body to create a cartoonish effect.
- Colorful Patterns: Use bright colors and fun patterns to make your spider designs lively.
- Expressive Faces: Give your spiders expressive eyes and smiles to add character.
Whimsical spider designs can be a fun way to explore creativity while still mastering drawing techniques.
Shading and Texturing Techniques
Shading and texturing are essential for adding realism to your spider drawings. Here are some techniques to consider:
1. Cross-Hatching
Use cross-hatching to create shadows. This technique involves drawing intersecting lines to build texture and depth.
2. Stippling
Stippling involves using dots to create shading effects. This method can add a unique texture to your spider’s body.
3. Blending
Utilize a blending stump or your fingertip to smooth out pencil marks, creating softer transitions between light and shadow.
Common Mistakes to Avoid
As with any art form, beginners often make common mistakes. Here are some tips to help you avoid them:
- Avoid rushing through the outline phase; take your time to get the proportions right.
- Don’t be afraid to reference real-life spiders; observation is key to improving your skills.
- Remember to layer your shading; building up layers will create more depth and realism.
Sources of Inspiration and Resources
Finding inspiration is crucial for any artist. Here are some resources that can help you in your spider drawing journey:
- DeviantArt - A community of artists where you can find spider drawings for inspiration.
- Pinterest - Browse through a plethora of spider art and tutorials.
- YouTube - Video tutorials can offer step-by-step guidance on spider drawing techniques.
Conclusion
In conclusion, mastering spider drawing requires practice, patience, and a good understanding of anatomy, tools, and techniques. By following the steps outlined in this guide, you can create both realistic and whimsical spider illustrations. Remember to keep experimenting and have fun with your art! Don't hesitate to leave a comment below, share your spider drawings, or explore other art-related articles on our site.
Final Thoughts
Your journey in spider drawing is just beginning. Embrace your creativity, continue to practice, and let your unique style shine through in your artwork. We hope this guide has provided valuable insights and inspiration. Come back for more art tips and tutorials!


Detail Author:
- Name : Aleen Berge
- Username : nharvey
- Email : carol.schmitt@bernier.com
- Birthdate : 1985-04-23
- Address : 91542 Roberts Mews Suite 907 New Emelieburgh, KS 49877-3212
- Phone : 619.441.5985
- Company : Herman-Dietrich
- Job : Forester
- Bio : Et aut qui ipsum. Asperiores aliquam dignissimos voluptatum quibusdam itaque.
Socials
linkedin:
- url : https://linkedin.com/in/nicholas1867
- username : nicholas1867
- bio : Dolorem aut fuga non voluptatibus accusamus quia.
- followers : 118
- following : 19
instagram:
- url : https://instagram.com/hilln
- username : hilln
- bio : Unde at ex molestiae. Dolor ab culpa et aspernatur aut temporibus. Vel officiis sed quam voluptate.
- followers : 1704
- following : 2287
tiktok:
- url : https://tiktok.com/@nicholas_hill
- username : nicholas_hill
- bio : Fuga sed et delectus. Explicabo similique non veniam assumenda molestiae.
- followers : 347
- following : 325
facebook:
- url : https://facebook.com/hilln
- username : hilln
- bio : Molestiae quia non voluptates nihil minima consequuntur.
- followers : 1947
- following : 570
twitter:
- url : https://twitter.com/nicholas_dev
- username : nicholas_dev
- bio : Laboriosam commodi fugit molestiae quidem totam. Nemo illo quia repudiandae est. Quia eos sunt deserunt quis id porro deserunt dolore.
- followers : 519
- following : 2723
